Implement custom filters in your ASP.NET Core feature flags
Learn how to implement custom filters in your ASP.NET Core apps, using pre-shipped filters or even writing your own.
So far in this series, we introduced Microsoft.FeatureManagement as a way to manage feature flag functionality in your .NET applications and used the Microsoft.FeatureManagement.AspNetCore library to conditionally filter HTML components and apply filters across controller action methods and classes.
These examples are great to show off how to get started with native feature flags, but you might be wondering if you can do something more powerful than simply checking booleans. And, you can! Using feature filters you can use three feature filters provided out of the box, and can also write your own.
In this post, I’ll show you how to:
- Use the
TimeWindowFilterto conditionally show a feature based on a time range - Write a custom filter to detect a user’s browser to partially roll out a feature
This is part 3 in a four-part series on .NET native feature flags:
- Part 1: Introducing the
Microsoft.FeatureManagementlibrary - Part 2: Use Microsoft.FeatureManagement.AspNetCore to filter actions and HTML
- Part 3, this post: Implement custom filters in your ASP.NET Core feature flags
- Part 4: Manage feature flags with Azure App Configuration
This post contains the following content.
- Implement IFeatureFilter using provided filters
- Implement TimeWindowFilter
- Update Startup class
- Update FeatureFlags.cs
- Add TimeWindow configuration to appsettings.json
- Update the M, the C, and the V
- Write a custom filter
- Parameters, a second look
- Creating your filter
- Add a flag check in your view
Implement IFeatureFilter using provided filters
The Microsoft.FeatureManagement library includes support for the IFeatureFilter interface, which allows you to define whether criteria is met to enable (or disable) a feature. Included with this interface are three filters you can plug in without custom code:
- PercentageFilter - activate a feature based on a random percentage
- TargetingFilter - allows you to activate features for targeted audiences
- TimeWindowFilter - activate a feature based on a time window
In this example, we’ll be showing off the TimeWindowFilter. Before getting started, make sure that you have set up our sample app as we did in the first post in this series.
Implement TimeWindowFilter
The TimeWindowFilter does exactly as its name suggests. You provide a start and end time in your configuration, as DateTime objects, and if the current date is in the window the feature flag will be activated.
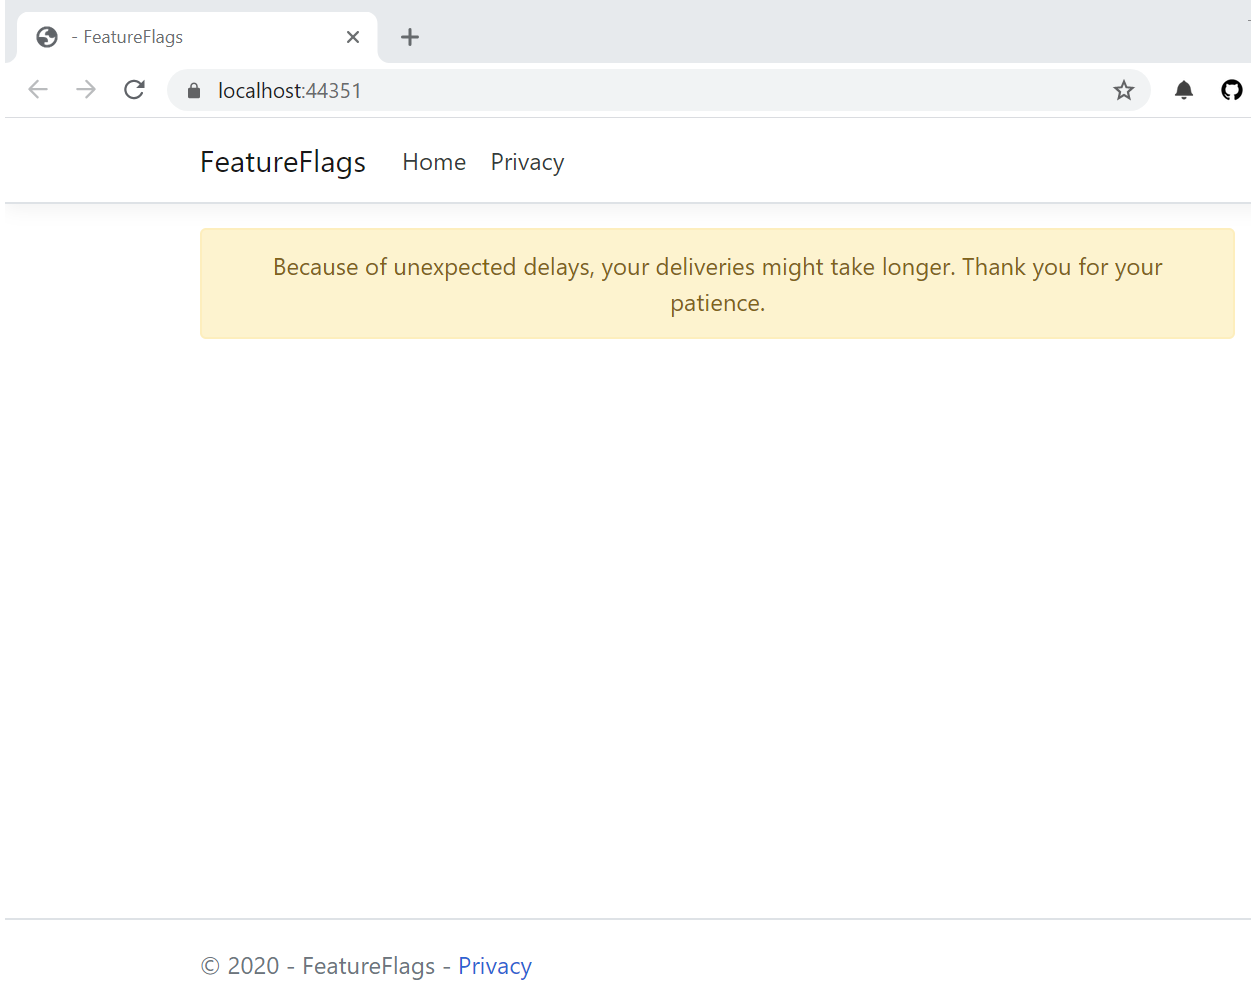
Especially in these times, you might see a scenario where you’d like to have a temporary banner on your page that says something like, Because of unexpected delays, your deliveries might take longer. Thank you for your patience. Let’s set that up.
Update Startup class
Previously in the series, you added the following to the ConfigureServices method in Startup.cs:
public void ConfigureServices(IServiceCollection services)
{
  //
  services.AddFeatureManagement();
}
You’ll need to modify this slightly to implement feature filters. Update the call with AddFeatureFilter to update the service to use an IFeatureManagementBuilder instance.
using Microsoft.FeatureManagement;
using Microsoft.FeatureManagement.FeatureFilters;

public void ConfigureServices(IServiceCollection services)
{
  //
  services.AddFeatureManagement().AddFeatureFilter<TimeWindowFilter>();
}
Update FeatureFlags.cs
As we’ve done throughout this series, you’ll want to update our list of feature flags in our FeatureFlags.cs to avoid hard-coding strings in our controller:
public static class FeatureFlags
{
  public const string EmergencyBanner = "EmergencyBanner";
}
Add TimeWindow configuration to appsettings.json
Under the FeatureManagement section in your appsettings.json, you’ll add a section for our EmergencyBanner.
Underneath the EmergencyBanner property, define an EnabledFor array. This array takes elements where, if any are enabled, the flag will be set to true. For each item, you’ll need to specify a Name value and any Parameters. The Parameters object is optional and allows you to pass in any parameter values required by the feature in question.
Here’s what the FeatureManagement section looks like:
{
  "FeatureManagement": {
    "EmergencyBanner": {
      "EnabledFor": [
        {
          "Name": "Microsoft.TimeWindow",
          "Parameters": {
            "Start": "01 Jan 2020 12:00:00 +00:00",
            "End": "01 Jul 2020 12:00:00 +00:00"
          }
        }
      ]
    }
  }
}
If users are viewing this page between January 1 and July 1 of 2020, the feature flag will be activated and the users will see the warning.
Update the M, the C, and the V
Don’t worry, the hard part is over. Let’s update our IndexViewModel.cs to take a boolean:
namespace FeatureFlags.Models
{
    public class IndexViewModel
    {
        public bool ShowEmergencyBanner { get; set; }
    }
}
Now, we can update our controller to update the model value if the feature flag is enabled. In HomeController.cs, call IsEnabledAsync. When called, the IFeatureManager will check our configuration to see if the feature is valid.
public async Task<IActionResult> Index()
{
  var indexViewModel = new IndexViewModel()
  {
    ShowEmergencyBanner = await _featureManager.IsEnabledAsync(FeatureFlags.EmergencyBanner)
  };

  return View(indexViewModel);
}
Now, let’s update our Home/Index.cshtml view to conditionally render the warning.
@model IndexViewModel

<div class="text-center">
  @if (Model.ShowEmergencyBanner)
  {
    <div class="alert alert-warning" role="alert">
      Because of unexpected delays, your deliveries might take longer. Thank you for your patience.
    </div>
   }
</div>
Fire up the app and see your hard work. Good job, you.
Write a custom filter
With a handle on how we use the shipped filters, we’re now ready to write our own. Let’s imagine a scenario where you only want a subset of users to access your feature. You could do the PercentageFilter, but we can also detect a user’s browser and, say, only ship a feature to Chrome users. Let’s give it a shot.
Parameters, a second look
When we write our own, we’ll get to see the structure of what you need to specify in appsettings.json.
"MyFilter": {
      "EnabledFor": [
        {
          "Name": "MyFilterName",
          "Parameters": {
            "ParametersArray": [ ]
          }
        }
      ]
    }
For our specific case, we want to only activate the flag for Chrome users. We’ll specify this as an array underneath Parameters in appsettings.json. As such, this is what our new section should look like.
"BrowserFilter": {
  "EnabledFor": [
  {
    "Name": "BrowserFilter",
    "Parameters": {
      "AllowedBrowsers": [ "Chrome" ]
    }
  }]
}
You’ll notice that EnabledFor and the AllowedBrowsers are both arrays. This means you can specify a set of conditions under EnabledFor and multiple browsers - we are doing one apiece to keep it simple.
Now, after we update appsettings.json we will create BrowserFilterSettings that we’ll use to store the AllowedBrowsers.
namespace FeatureFlags
{
  public class BrowserFilterSettings
  {
    public string[] AllowedBrowsers { get; set; }
  }
}
As we’ve done throughout the series, let’s add a constant to FeatureFlags.cs:
public const string BrowserFilter = "BrowserFilter";
Creating your filter
Now we’re ready to write our actual filter - let’s create BrowserFilter.cs. You’ll need to implement the IFeatureFilter interface, which requires a single EvaluateAsync call.
Here’s what our new class looks like. Take a look at the code before I explain what it does.
using Microsoft.AspNetCore.Http;
using Microsoft.Extensions.Configuration;
using Microsoft.FeatureManagement;
using System.Collections.Generic;
using System.Linq;
using System.Threading.Tasks;

namespace FeatureFlags
{
    [FilterAlias(FeatureFlags.BrowserFilter)]
    public class BrowserFilter : IFeatureFilter
    {
        private readonly IHttpContextAccessor _httpContextAccessor;
        public BrowserFilter(IHttpContextAccessor httpContextAccessor)
        {
            _httpContextAccessor = httpContextAccessor;
        }

        public Task<bool> EvaluateAsync(FeatureFilterEvaluationContext context)
        {
            var userAgent = _httpContextAccessor.HttpContext.Request.Headers["User-Agent"].ToString();
            var settings = context.Parameters.Get<BrowserFilterSettings>();
            return Task.FromResult(settings.AllowedBrowsers.Any(userAgent.Contains));
        }
    }
}
Looking at the EvaluateAsync method, you’ll notice:
- We inspect the headers of the HTTP request to get the
User-Agentvalue, which notes the client browser - Then, we get the settings file,
BrowserFilterSettings.cs, to see the allowed browsers, which were pulled by the configuration - Returns
trueif theuserAgentcontains a value in theAllowedBrowserarray
As some housekeeping, we inject an instance of IHttpContextAccessor, which will need to be added here.
Now, you’ll need to add that and a reference to your new feature filter in Startup.cs:
public void ConfigureServices(IServiceCollection services)
{
  services.AddHttpContextAccessor();
  services.AddFeatureManagement().AddFeatureFilter<BrowserFilter>();

  services.AddControllersWithViews();
}
Add a flag check in your view
Now, if you add a check similar to the following, you will see your filter in action!
<feature name="@FeatureFlags.BrowserFilter">
  <div>We are using Chrome.</div>
</feature>
Nice work. Check in with us next week, as we’ll help to make this production ready with Azure App Configuration.