Share Blazor Components with Shared Class Libraries
This post shows you how you can share Blazor components with shared class libraries.
UPDATE! A lot has changed in the two years since this post was first written. I’ve updated this post to make it current and correct.
As developers, we often take advantage of the benefits of sharing common code in a specific project. That way, it can be shared and maintained in a centralized way—accessed easily whether it is your team’s source control repository or, in the .NET world, a NuGet package.
This is no different with Blazor. When we use Razor component class libraries, we can easily share components across projects. When we share components, all our target project needs to do is reference the shared project and add the component—no style imports necessary!
In this article, we’ll demonstrate the power of Razor component class libraries using a simple example with the default scaffolded Blazor application.
Prerequisites
Before getting started, make sure you have a recent .NET SDK installed (preferably 3.x or later).
Create a Blazor application
Let’s create a Blazor application.
- From Visual Studio, click File > New > Project and select the Blazor App project template and click Next.
- Give it a name, like MySharedLibDemo, and click Create.
- Select the Blazor template (Blazor Server App or Blazor WebAssembly App) and click OK. Either type should work here.
- To add a Razor component class library, we’ll use the .NET Core command-line interface (CLI).
- Right-click the solution and select Open Command Line. From your preferred command line utility, enter
dotnet newto see all the .NET Core templates available to you. We will be adding the Razor Class Library template to our project. - From your prompt, enter
dotnet new razorclasslib -o MySharedBlazorLibrary. This will add theMySharedBlazorLibraryproject in your directory. - Right-click your solution and click Add > Existing Project. Browse to your library, select the MySharedBlazorLibrary.csproj file, and click Open. Your project structure will now resemble the following.
- Finally, reference the shared project. From your main project, right-click Dependencies > Add Project Reference… Then, select your newly created project and click OK.
Add shared component to your main project
Now, all you need to do is add the component to your project. If you remember, the shared project includes a Component1.cshtml file that includes a styled component. We’ll now add this to our main project.
From your Pages/Index.razor file, add a using statement at the top of the file.
@using MySharedBlazorLibrary
Now, below the SurveyPrompt component, add the Component1 component. As you begin typing, you can use IntelliSense.
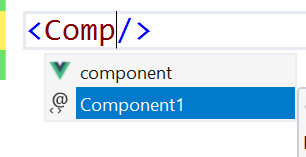
Your Index.razor component should now look like this:
@page "/"

<h1>Hello, world!</h1>

Welcome to your new app.

<SurveyPrompt Title="How is Blazor working for you?" />

<Component1 />
View your changes
After you save your changes, reload the page to see your new component in action.
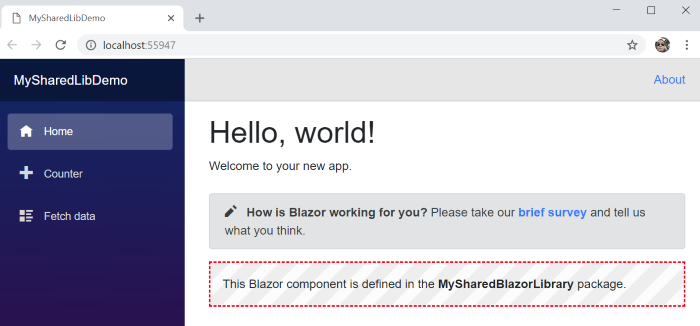
You have just referenced a component from a shared library with minimal effort. By merely importing the library, you were able to add a component and its styles quite easily.