Full-Stack Development in Visual Studio Code with ASP.NET Core
Let's learn how to work with ASP.NET Core in VS Code.
The true power with ASP.NET Core is in its flexibility. With a powerful CLI, I can run an app on any platform with just a basic text editor, if I so desire. And speaking of desire: when I write code, I prefer Visual Studio Code. It’s fast, responsive, and gives me exactly what I need and nothing more. Of course, I rely on Visual Studio 2017 from time-to-time for advanced debugging and profiling. But when I’m in a code-debug-code workflow, nothing is better.
Visual Studio Code is perfect for ASP.NET Core - allowing me to write front-end and back-end code in one great lightweight environment. Unfortunately, when I talk to ASP.NET Core developers many times Visual Studio Code isn’t a consideration. Often, I hear that while Code is a great tool, it only is for those slinging front-end code. And after decades of the full-fledged Visual Studio being the only option to write .NET code, who can blame them?
Let’s get started and walk through how you can debug C# code, query databases, and more with .NET Core using Visual Studio Code.
Note: All screenshots and keyboard shortcuts are using Windows 10, but they should be very similar on other operating systems like a Mac.
Prerequisites
Before we get started, you’ll need to make sure you have the following installed on your platform of choice.
- ASP.NET Core SDK (confirm installation by executing
dotnet --versionfrom a terminal window) - Visual Studio Code
- After installing Code, the OmniSharp C# extension
Now that we have everything set up, let’s start by creating a new ASP.NET Core web application from the ASP.NET Core command-line interface (CLI).
Create a new Core project
We’re going to create a new Core project first, using the ASP.NET Core CLI.
First, from a terminal window let’s get a list of all available templates by adding the -l flag to our dotnet new command:
dotnet new -l
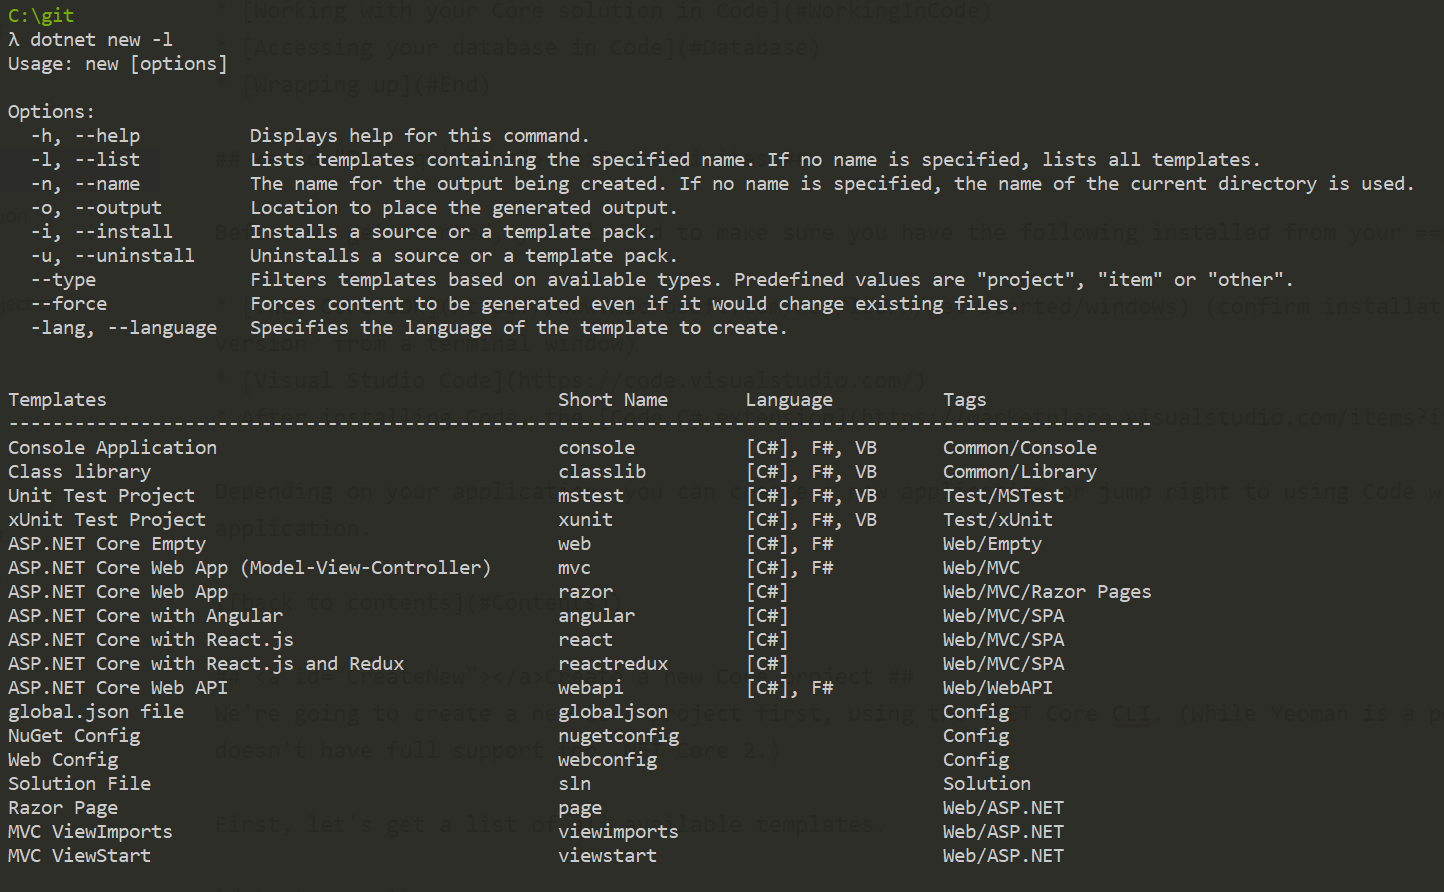
You can see that we can create a new project based on many different project template types. For our purposes, any application will do - let’s go ahead and create a new ASP.NET Core MVC App by including the Short Name in the command in your terminal window.
dotnet new mvc
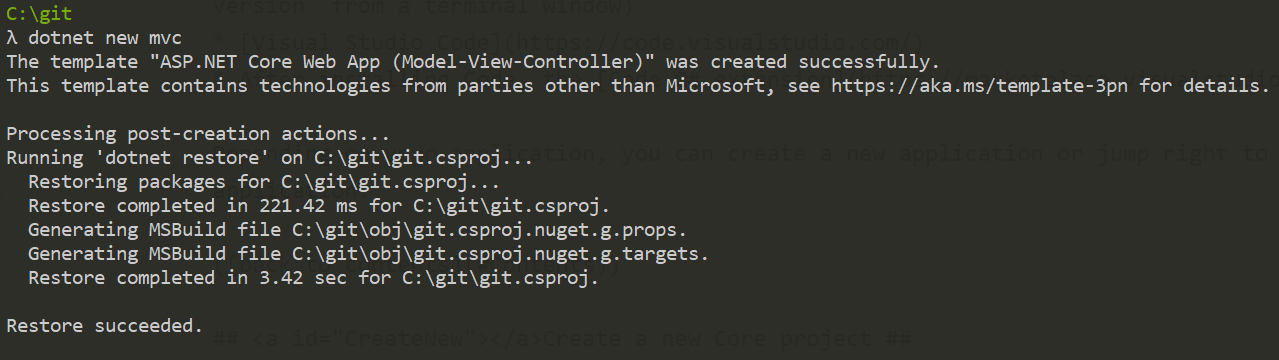
Now that we successfully created our project, we can open our new solution in Visual Studio Code. From the terminal, navigate one folder down to the project directory and enter code . from your terminal window.
Working with your Core solution in Code
When you first open the C# project, you’ll get a warning that Code needs to build required assets to the project.
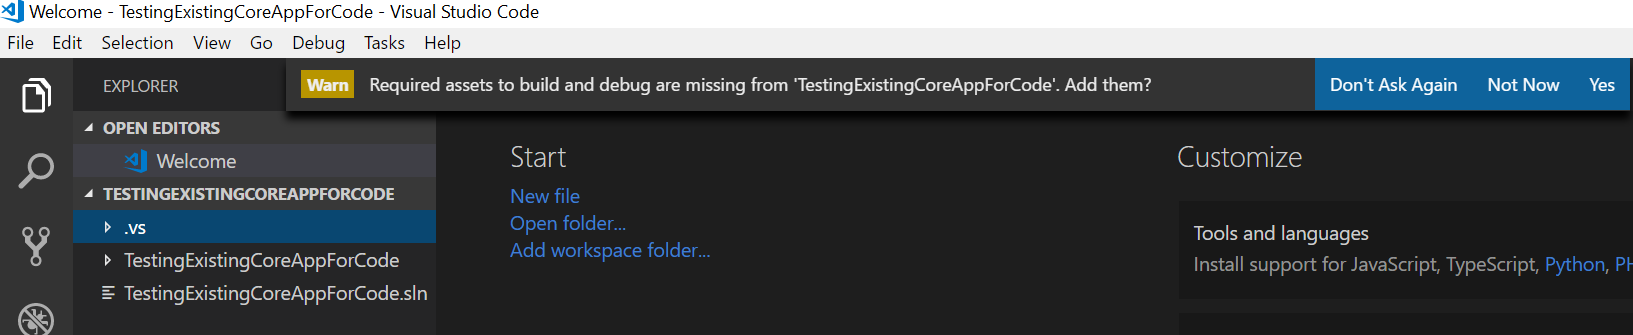
After you click Yes, you’ll see a .vscode folder added to your project, which includes the following:
launch.json- where Code keeps debugging configuration informationtasks.json- where you can define any tasks that you need run - for example,dotnet buildordotnet run.
For example, here’s what my tasks.json looks like out of the box.
{
    "version": "2.0.0",
    "tasks": [
        {
            "label": "build",
            "command": "dotnet build",
            "type": "shell",
            "group": "build",
            "presentation": {
                "reveal": "silent"
            },
            "problemMatcher": "$msCompile"
        }
    ]
}
This allows me to build my solution without needing to keep entering dotnet build from the command line. In Windows, I can hit Ctrl + Shift + B much like I can in regular Visual Studio. Try it out!
Debugging C# Code
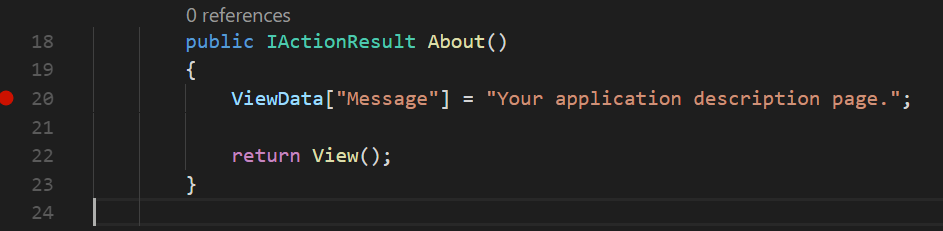
Now, let’s take a look at how C# debugging works in Visual Studio Code. First, set a breakpoint anywhere in the application much like you would do in any other IDE (in a gutter next to the line number). In my case, I’m creating a breakpoint inside the About controller action in Controllers/HomeController.cs.
Now, navigate to the Debug tab in Code and click the Debug button.

Code will launch your application using http://localhost:5000.
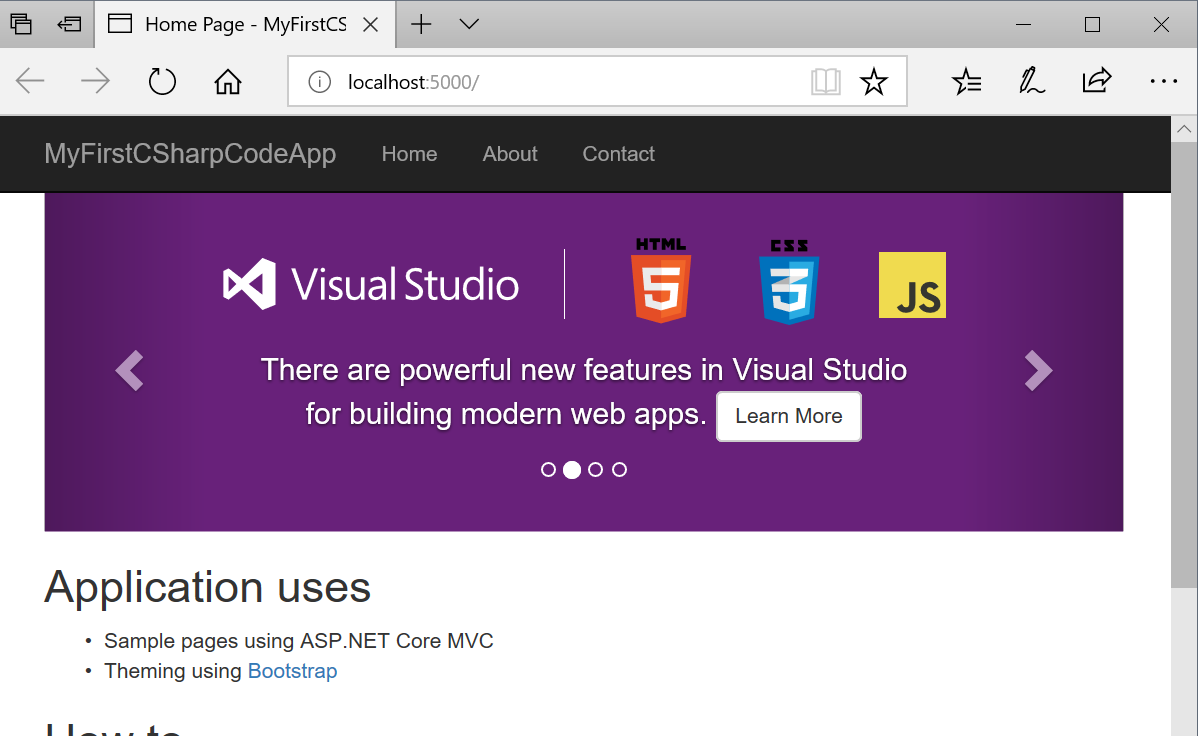
Next, trigger your breakpoint - for me, that means clicking the About link in the top menu so that I can enter the About action in the Home controller.
If you go back to the Debug section in Code, you’ll see all the debugging options at your disposal: accessing your variables, call stack, all your breakpoints, and even the ability to watch variables or objects.

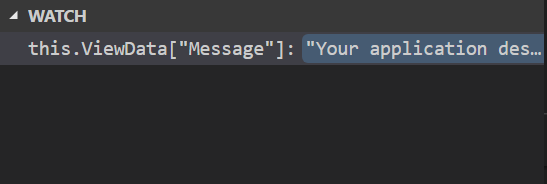
Now, let’s add a watch statement for the ViewData message.
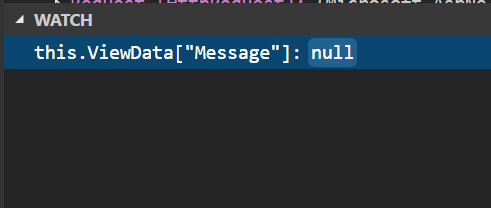
It’s null now because I haven’t executed that line of code yet. Once I step into the method, you’ll see the value of ViewData["Message"].
Now that we’ve been able to debug C#, let’s query a database!
Working with Databases in Code
So, I’ve created a new C# project and can debug it in Visual Studio Code. Pretty cool, right? But with any server-side application, you’ll want to work with a database. You can easily do this in Code - for our purposes, we’ll be working with SQL Server.
(Note: If you are working with SQL Server on a Mac, a setup guide is beyond the scope of this post. This piece should be able to assist you.)
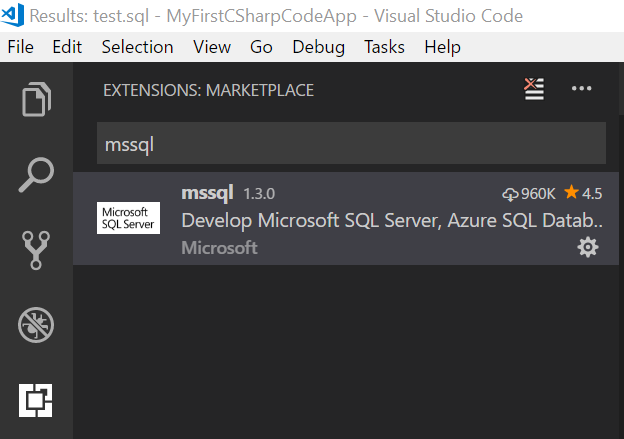
Before we get started, we’ll need to install Microsoft’s own SQL Server extension from Visual Studio Code. Just search for mssql in the Extensions panel and you should have no problem finding it.
Now that you have the extension installed, you’ll need to create a connection to your database server (this can be locally or even something hosted in Azure). To start connecting to the database, access the Command menu (Ctrl + Shift + P) and search for sql. You’ll see all the commands the extension has provided for you.
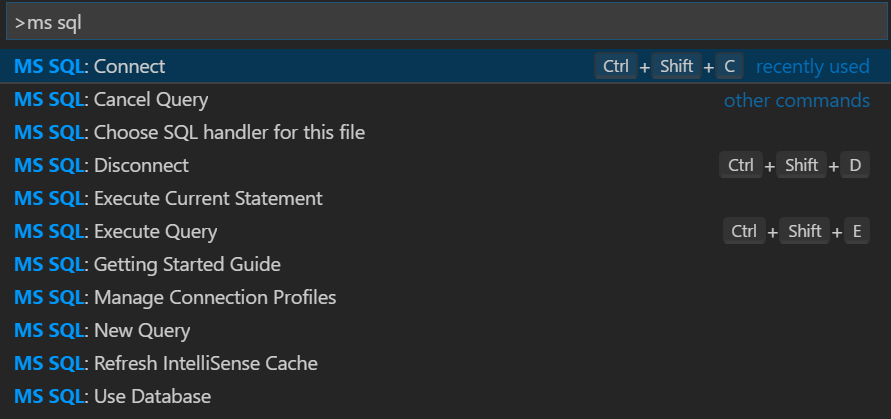
Select MS SQL : Connect from the command menu and follow the prompts.
- Server name - since I am connecting locally, I just entered
(localhost)\MSSQLLocalDB.You can do this, or if hosted in Azure the mydb.database.windows.net address, or even a remote IP address. - Database name - enter the database you want to use (this is optional).
- Integrated/SQL Server authentication - pick your authentication method. If you’re using a local DB, Integrated will do. For something like Azure, you’ll need SQL authentication.
- Profile name - you can optionally enter a name for the profile.
Now that we’re set up and connected, let’s set up a database with horror movies. To do this, first create a .sql file in your project.
Create sample database
In your SQL file, create a database. Feel free to copy and paste this syntax, then execute (Ctrl + Shift + E).
CREATE DATABASE MyHorrorDB
Now, if you execute the following you should be able to see the name of your new database.
SELECT Name FROM sys.DatabasesNow that we have proof of our created databases, execute the following SQL to inject your database with sample data. You should notice IntelliSense-like completion!
USE MyHorrorDB
CREATE TABLE Movies (MovieId INT, Name NVARCHAR(255), Year INT)
INSERT INTO Movies VALUES (1, 'Halloween', 1978);
INSERT INTO Movies VALUES (2, 'Psycho', 1960);
INSERT INTO Movies VALUES (3, 'The Texas Chainsaw Massacre', 1974);
INSERT INTO Movies VALUES (4, 'The Exorcist', 1973);
INSERT INTO Movies VALUES (5, 'Night of the Living Dead', 1968);
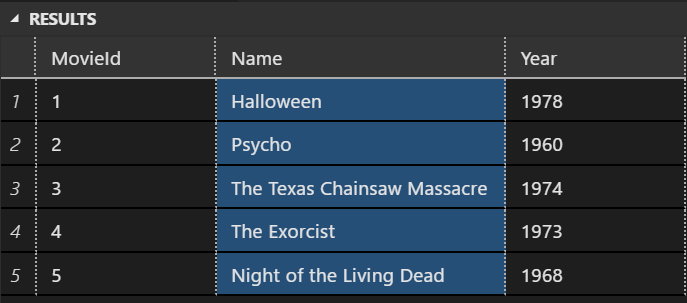
GONow, do a blanket SELECT to get all your movies (obviously, a blanket SELECT is not recommended for performance reasons but this is pretty harmless since we’re querying five movies).
SELECT * FROM Movies
Now you should your sample data in action!
You can do much more than query databases, though! Take a look at this document for more details.
Wrapping up
While this is just scratching the surface, I hope this convinces you to give Visual Studio Code a try for developing in ASP.NET Core when you don’t need a full-fledged IDE. And, of course, leave me a comment if you want to keep this conversation going!
Thanks to Scott Addie of Microsoft and Chris DeMars for performing a technical review of this post.